
In the world of design, clarity is everything. Whether you’re launching a new brand, designing a website, or creating a one-off marketing piece, the success of your project often hinges on how well you communicate your vision to your designer. While designers are skilled in translating ideas into visual experiences, we aren’t mind readers—and vague direction can easily lead to misalignment, delays, and unnecessary revisions.
As an experienced graphic designer, I’ve worked with clients who were crystal clear about what they wanted—and others who only realized what they didn’t want after seeing the first draft. The difference almost always comes down to how they communicated their vision. This blog will walk you through practical, proven strategies to ensure your ideas are clearly understood and brought to life as you imagined—or even better.
1. Start With the Why

Before diving into fonts and colors, take a step back and ask yourself:
What is the goal of this design? Are you trying to:
- Promote an event?
- Establish your brand identity?
- Drive sales or clicks?
- Educate an audience?
- Introduce a new product?
When you provide this context, your designer isn’t just choosing pretty visuals—they’re making strategic decisions that align with your purpose. Always share the “why” behind the project first. It frames everything that follows.
2. Know Your Audience

Design is about connection, and you can’t connect effectively without knowing who you’re speaking to. Are you targeting:
- Teenagers on TikTok?
- Corporate decision-makers?
- Eco-conscious millennials?
- Parents with young children?
Provide as much detail as possible. Share personas, user research, or even anecdotal insights. Understanding the audience’s needs, tastes, and behaviors helps the designer choose the right visual tone, style, and messaging.
3. Show, Don’t Just Tell
Words can be vague. “Bold,” “modern,” or “clean” mean different things to different people. That’s why visual references are invaluable.
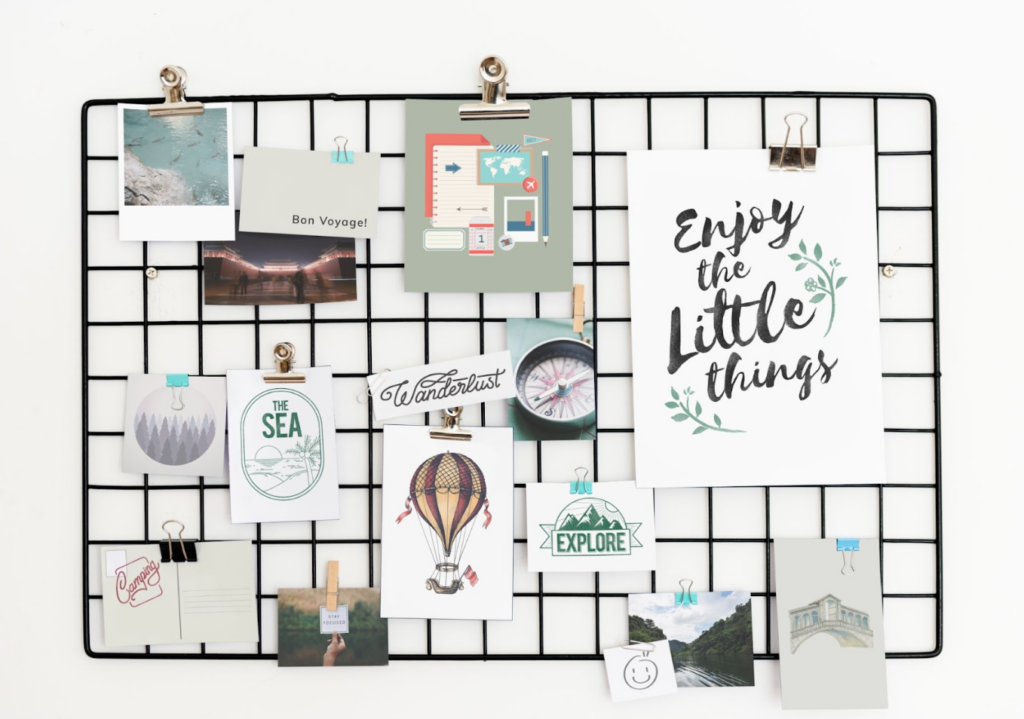
Create a moodboard using platforms like Pinterest, Milanote, or even a shared Google Drive. Include:
- Designs you like (and dislike)
- Color palettes
- Typography styles
- Logos or layouts that resonate
You can also annotate what you like about each image: “I love the minimal use of white space here,” or “The font feels too playful.” This gives your designer a clear visual direction without restricting their creativity.
4. Be Honest About Your Brand’s Personality
Your visual identity should reflect who you are—not just what’s trendy. Take time to define your brand’s voice and personality. Ask yourself:
- If your brand were a person, how would it talk?
- What are three words that describe your brand?
- What do you want customers to feel when they see your visuals?
Share your brand guidelines, if you have them. If not, a designer can help you build them—but they’ll need honest input from you first.
5. Set Expectations Clearly

Scope, timeline, and deliverables should be clearly defined from the start. Provide answers to questions like:
- What format(s) do you need? (e.g., PDF, JPEG, social media sizes, print-ready files)
- When do you need the first draft? Final version?
- Are there any hard deadlines? (e.g., event launch, investor pitch)
- What’s your budget?
Ambiguity in logistics can create misunderstandings. Make sure both sides agree on the project scope before work begins.
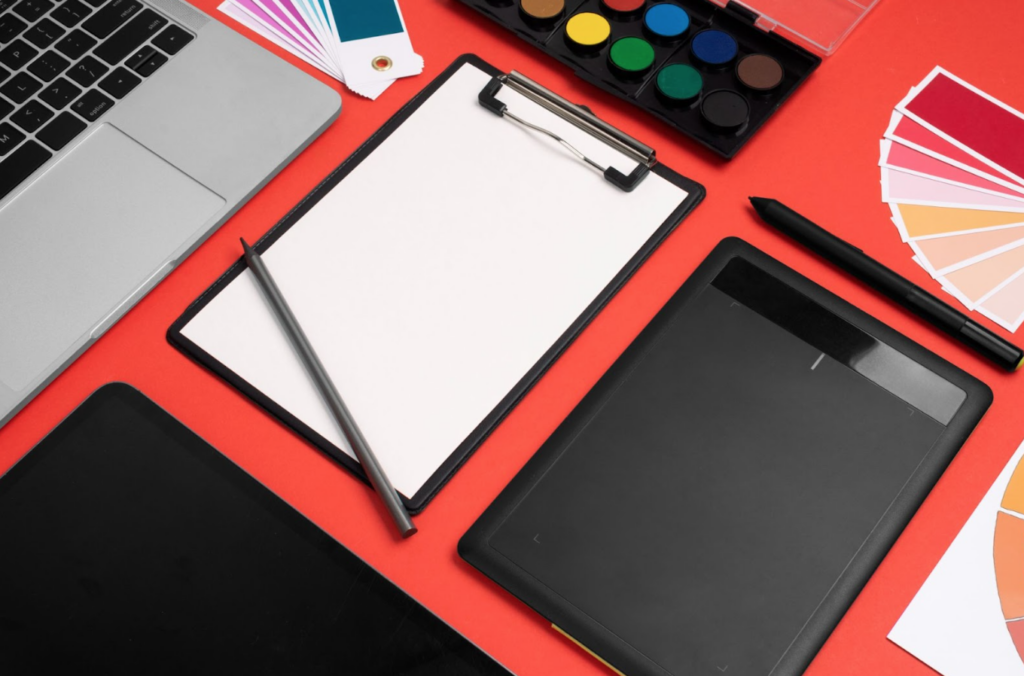
6. Provide the Right Assets

A designer can only work with what they’re given. Be sure to supply:
- High-resolution logos (preferably in vector format)
- Brand fonts and colors
- Any copy/text you want included
Photography or graphics to be incorporated
If you don’t have some of these assets, let the designer know—they might be able to source or create them for you. Missing files can delay progress and compromise the final result.
7. Trust the Process (and the Professional)

Once the project is underway, allow space for creativity. If you’ve communicated your vision clearly, now’s the time to trust the designer to interpret and execute it.
Sometimes, what you think you want visually may not serve your goals as effectively as another approach. Designers bring not just artistic talent, but strategic thinking and experience with user behavior. If your designer challenges your request or suggests an alternative, listen. You might discover a better solution you hadn’t considered.
8. Give Constructive, Specific Feedback

Design is subjective, but feedback shouldn’t be. Avoid vague statements like “I don’t like it” or “Make it pop more.” Instead, aim for:
- “The text is hard to read—can we increase the contrast?”
- “This layout feels cluttered. Can we create more breathing room?”
- “I like the color choice, but it feels too bright for our brand’s tone.”
The more specific you are, the easier it is for the designer to address your concerns without guessing.
Also, try to consolidate feedback into one clear message, especially when multiple stakeholders are involved. Conflicting feedback from different team members can stall progress and frustrate everyone involved.
9. Keep Communication Centralized and Organized

Use one main channel for communication—email, Slack, Trello, or a shared Google Doc. This avoids confusion and makes it easy for both you and the designer to track revisions, approvals, and conversations.
If you’re working on a long-term or complex project, consider using project management tools like:
- Notion
- Asana
- ClickUp
- Figma (for design collaboration)
Clear documentation can reduce back-and-forth and help both parties stay aligned.
10. Appreciate the Creative Partnership

The best results come when clients and designers work as partners. Mutual respect, open-mindedness, and clear communication foster a healthy, productive creative relationship.
When you appreciate the thought and time that goes into a design—especially the revisions, polish, and problem-solving—it shows. Acknowledging the designer’s expertise not only boosts morale but also strengthens the partnership for future projects.
Final Thoughts
Clear communication is the foundation of successful design projects. As a client, you don’t need to speak the language of design fluently—but you do need to share your goals, preferences, and brand story in a way that sets your designer up for success.
Think of the designer as a translator: your job is to provide the raw ideas, values, and direction. Their job is to turn that into a cohesive, powerful visual language that tells your story and resonates with your audience.
When both sides bring clarity, honesty, and trust to the table, the result isn’t just a beautiful design—it’s a meaningful one.

- The Art of Storytelling Through Graphic Design - January 28, 2026
- Why Branding Matters: A Designer’s Perspective - December 30, 2025
- How to Stay Organized While Juggling Multiple Design Projects - December 1, 2025
0 Comments