

Are you a small business owner who relies on your phone to take pictures? This is part two of a guide to help you take the best pictures with your phone. In part one we covered devices, background, light, frame, and orientation.
Phone cameras get better and better every year, which means it is becoming more accessible for small business owners to take their own pictures.
1. Branding
Branding is a huge part of photography since this is literally the image of your brand. Think of your branding and how your content will reflect that. Think about the type of colors you use for your brand and how that applies to your content. Think about the mood of your brand and how you can translate that across your photos. For example, if your business is about bringing happiness to your customers, you want to make sure your images do that too. Think about your target audience and make sure your images reflect that too. If your business is catered to children, you should include children in your images. Lastly, add your PERSONALITY to your content! At the end of the day, this content is about you and your brand!
2. Headshots
Show off your team with a great headshot! Headshots can be great if done right but they can look so unprofessional if done wrong. A good place to start is to look at your branding and think about the theme you want your headshots to follow. You can get as creative as your branding allows here. Choose a background that will not compete with the subject. It’s good to have something in the background to make the picture more interesting but the background should not be so interesting that it takes away from the main subject. Try aiming for things that do not move in the background, plants or buildings for example. A clean, plain, white, well-lit wall is always great. If you are taking many headshots that will be seen together, make sure the background for all of them is the same or very similar. It would also be a good idea to think about the outfits. If all the headshots will be seen together, they should look like they belong together.
3. Group Photos
Group photos are great but they are by nature always harder to capture. The bigger the group, the longer it will take. First, start by gathering your people. Think about the backdrop. The backdrop should be big enough for everyone to fit comfortably in the frame. People should not have to “Squeeze in” to fit because this will cause some people to look uncomfortable and it will cause uneven “squeezing”. To minimize this, choose an area that is big and open so there is enough room for everyone in the picture as well as enough room for the photographer to back up. You not only have to be mindful of the horizontal space but also the vertical space. Be mindful of heights! if people are standing – tallest to the back. If people are sitting in chairs, consider asking a few to stand behind the chairs so the image doesn’t turn out long and skinny. Think of trying to make a pyramid shape with the people. If people need to be cropped, avoid cropping at the joints because it will always look awkward. Don’t forget to do a countdown so people know when to look at the camera and smile. Lastly, TAKE MANY PICTURES and then choose the one where most people look the best.
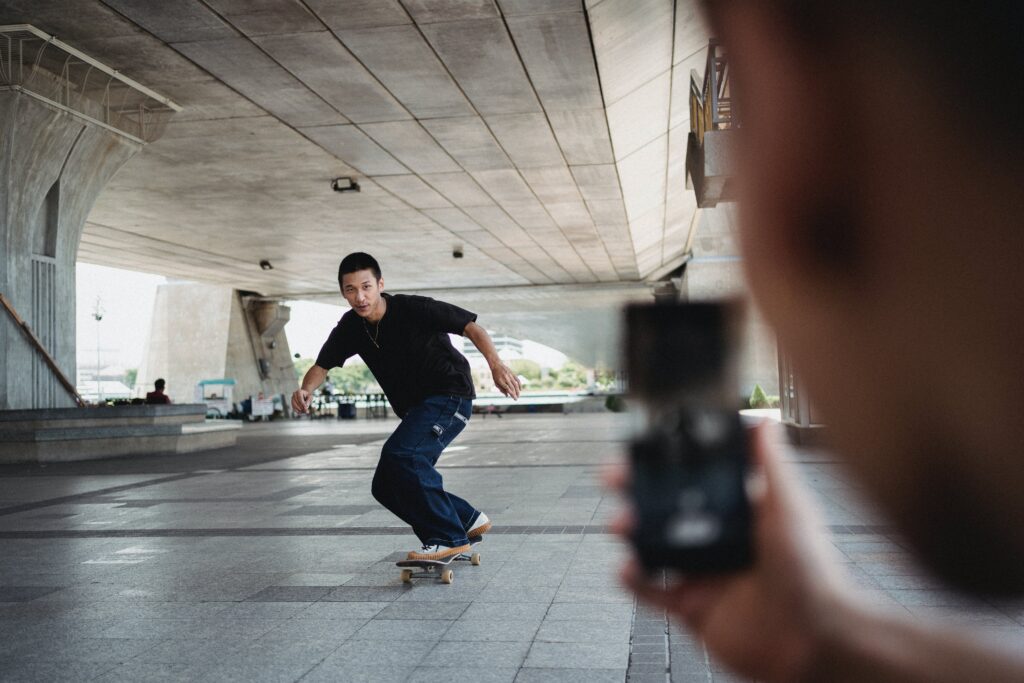
4. Action Photos with a Phone
Action photos are fun but they have to be caught at the right time and you usually only have one chance to capture them so here are a few tips to set yourselves up for success. First, think about where you are positioned. Be mindful of what is behind the subject so they don’t get overshadowed by the background and make sure the subject will not end up being backlit. If it’s a planned action shot, give a clear countdown especially if it is something that can only be done one time. Also, consider doing a run-through of what is about to happen to make sure everyone involved knows the role they need to play. If the shoot is not planned, try to predict where the subject will be and what is the sequence of events happening before the shot you want so you can plan accordingly. Lastly, TAKE MANY PHOTOS and choose the best!
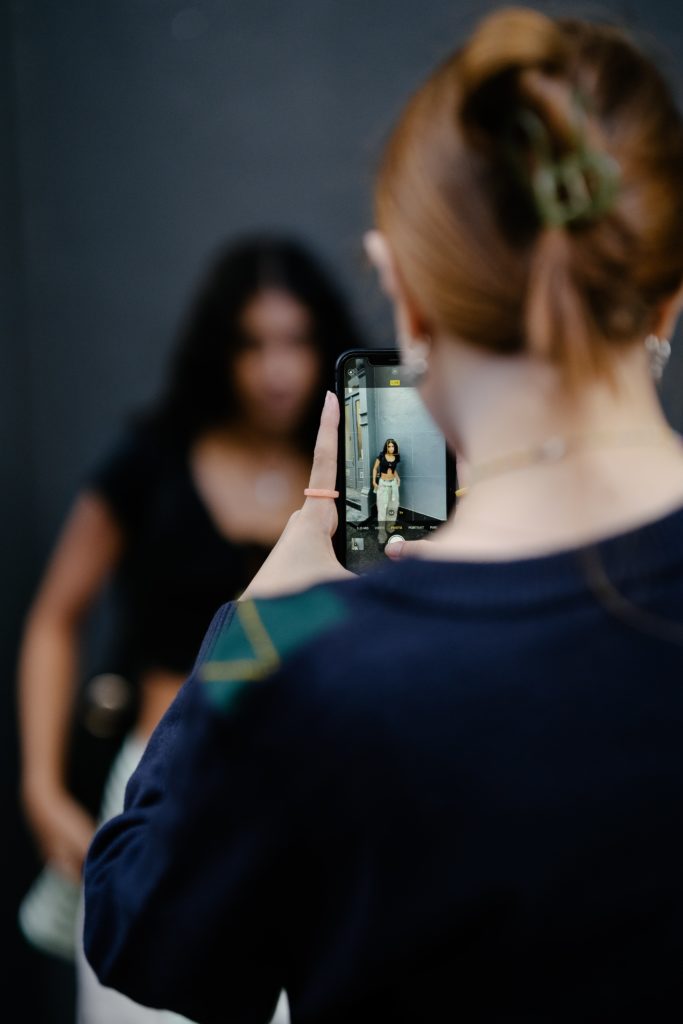
5. Product Photos
Product shots can be an essential part of a business so executing the best way possible is key. First, as always, choose your background wisely. You want your product to be the highlight, not the background. Plain and solid is always a great way to go with product images as this will make it easier for you to remove the background of the image and switch it up. Choose the best angle for your product. Most of the time products are symmetrical so many of the angles will be the same but think about what you like to see and what is important for people to see. If there is important text on it, make sure it’s readable. Think of the qualities of your product you want people to notice and showcase them. Ex. texture, color, etc. Take pictures from many angles!
I hope those tips are helpful on your content creation journey. Don’t forget to check out the first part of this blog or the recap reel for tips on Device, Background, Light, Frame, and Orientation!
Follow our social media channels for more helpful tips!

- Preparing For a Successful Season: Start On Your Summer Campaigns Now - January 30, 2025
- Ask the Experts: Your Top Questions About Social Media Answered - November 17, 2024
- How to Grow Your Property Management Business With A “3M” Method - October 17, 2024
0 Comments